Google Actions & MQTT : Part 2
Lets now look at the code for the app which would translate the google intents to mqtt messages and control our ESP relay. The first place I looked was the sample projects google provided. The samples were in Java and Node.js both platforms I didn't know that well. I downloaded the node js project and it looked pretty complex at first and it had dependency on google firebase, which I didn't want to set up.
Searching npm libraries I found actions-on-google this looked easy to use. This library handled the post request and parsed the intent JSON payload. So we just need to hook up our sync, query, execute and disconnect callbacks. In the callbacks we can specify the logic to convert the intent commands to mqtt.
Code Structure
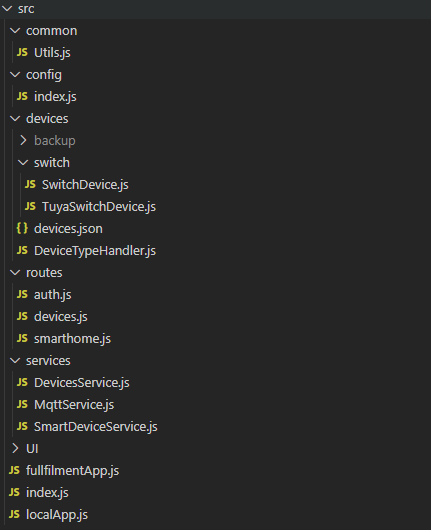
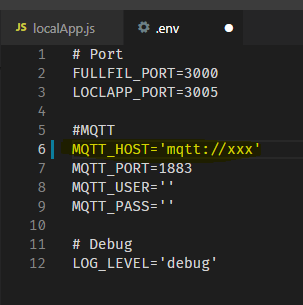
- index.js has the startup code. It launches two express apps on port 3000 and 3005 as defined in .env file
- fullfilmentApp.js has the express app to listen to google fulfilment posts. It also has the code to route authentication
- routes/smarthome.js uses the actions-on-google npm package to implement the sync, query, execute and disconnect callbacks.
- routes/auth.js implements the dummy auth. Since I am the only user and not publishing google actions project I didn't implement OAuth 2. Here we have a GET for the authorize call and POST of token. The authorize is called when we link our smart device project with google assistant. Token call happens frequently to get the auth token to be used for sync. query and execute calls.
- routes/devices.js handles updates to the devices list via another express instance.
- services folder contains service implementation for mqtt and mqtt device handling.
- /devices/devices.json has the definition of all our devices. This is JSON array containing device ids and other device properties.
Setup
Lets first clone the repo
git clone https://github.com/aNetdev/GoogleAction
cd GoogleActions
We now has to change a few of the env variables like setting the mqtt broker name. Open .env and update the MQTT_HOST.
lets now look at the devices.json. Here is where we configure our devices. The main thing to remember here is the id. This is how each devices would be identified my google intents and mqtt messages. Id should be the same was the mqtt topic we configured in tasmota.
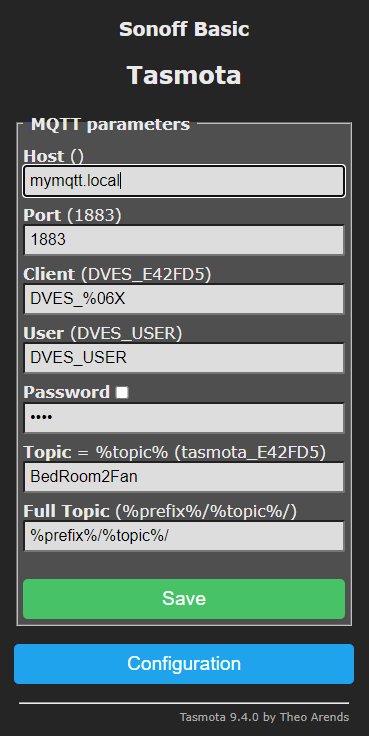
The type identifies the type of device, here in our case ESP relay would act as a simple switch. The traits identifies which actions the device supports. We are only supporting on/off.
[
  {
    "id": "BedRoom2Fan",
    "type": "action.devices.types.SWITCH",
    "traits": ["action.devices.traits.OnOff"],
    "name": {
      "name": "Not Used"
    },
    "willReportState": true,
    "deviceInfo": {
      "manufacturer": "Esp Relay",
      "model": "esprelayV4",
      "hwVersion": "4",
      "swVersion": "9.4"
    }
  },
  ...
This node.js app is set to run as a docker image. So first we have to build it. Here is the command to build.
user@xyz:~/Work/Nodejs/MQTTRelay$ docker build -t mqttrelay .and once we get the successfully built message we are done with the docker build.
......
Successfully built 6c13f8367389
Successfully tagged mqttrelay:latest
Next step deploy this docker image. We need to expose two ports 3000 and 3005.
docker run -p 3000:3000 -p 3005:3005 --name mqttrelayapp -d mqttrelay:latestOnce the docker image is up and running we see mqtt connection messages in the logs. I use portainer to manage my docker images.

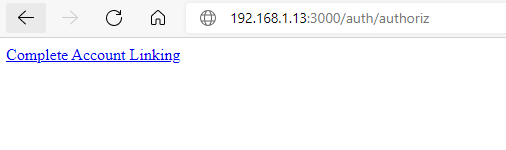
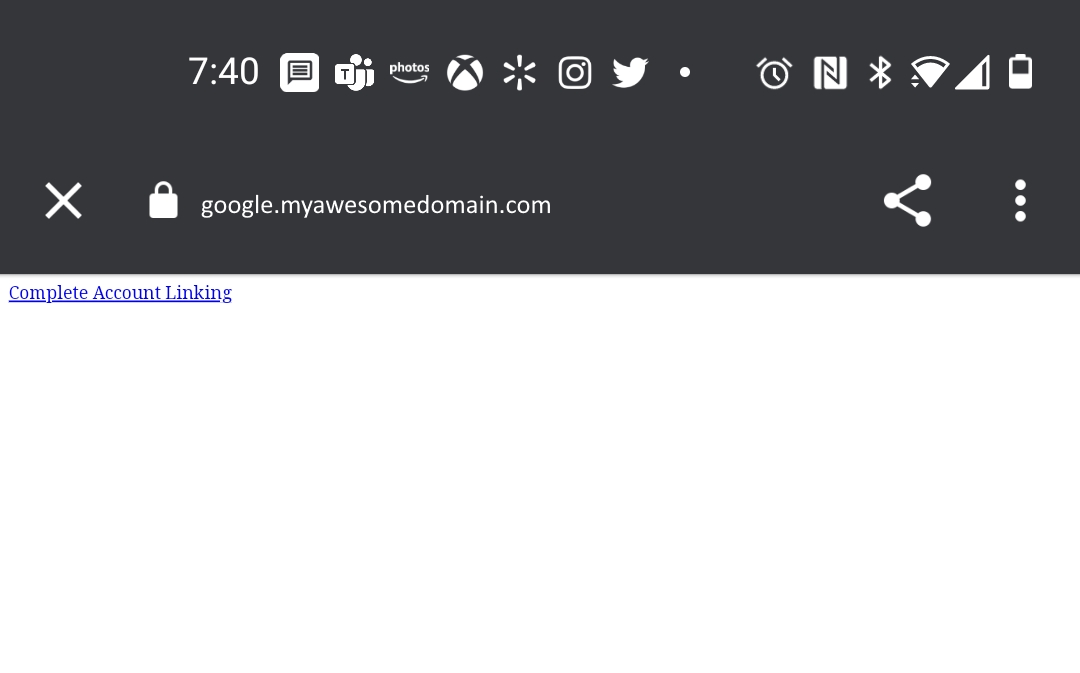
We can now try and see if the express webserver is running by going to http://192.168.1.13:3000/auth/authoriz and we should see this page.
It is now time to expose our url to the internet so that google can access the urls (fulfillment, auth and token). I use the awesome Nginx Proxy Manager docker image to manage certificates and map my domain name. Exposing the url to the internet is outside the scope of this article and has risks, so I am skipping that section. There are so many articles which would help us do that.
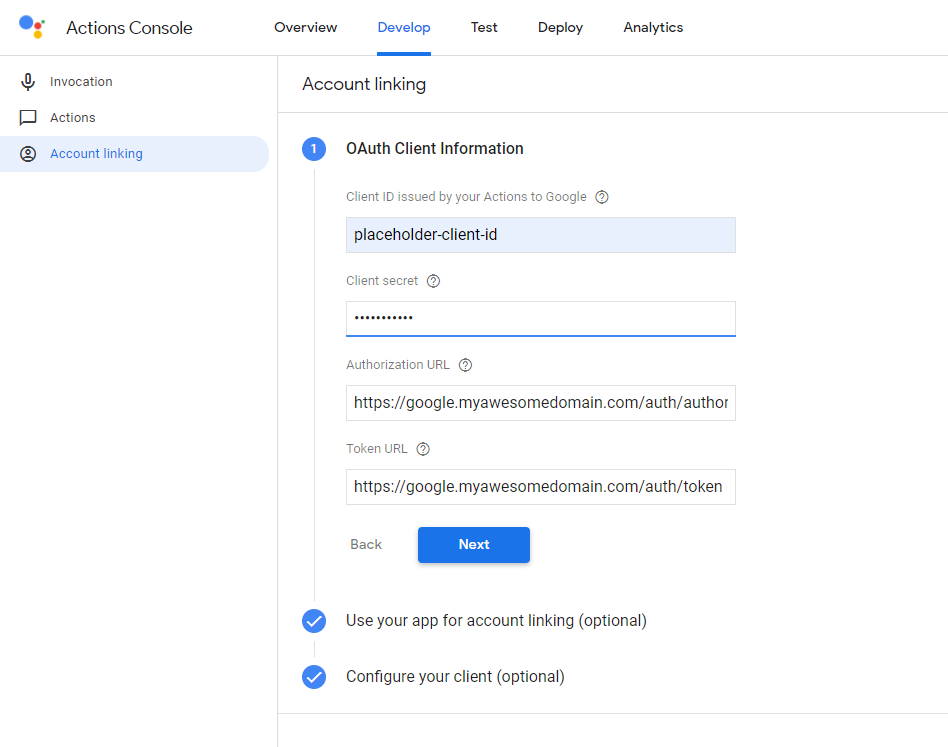
Next step is provide the urls in the google actions console. Lets say the domain we set up is google.myawesomedomain.com, the urls would look like this
- Fulfillment url 🠊 https://google.myawesomedomain.com/fulfillment
- Authorization url 🠊 https://google.myawesomedomain.com/auth/authoriz
- Token url 🠊 https://google.myawesomedomain.com/auth/token

For OAuth the client id and client secret can be anything since we are not validating those in our code. If you want you can do that in /routes/auth.js router.get('/authoriz' and router.post('/token' handlers.
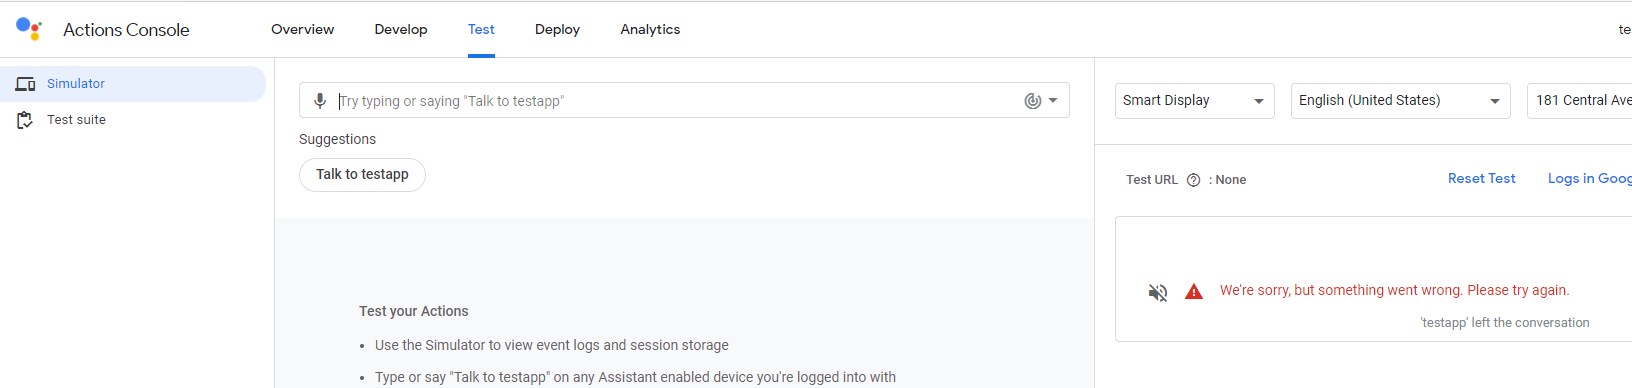
The next thing to do is click on test and "Talk to AppName" so that google can do its magic and activate this project. We would get an error but that can be ignored.
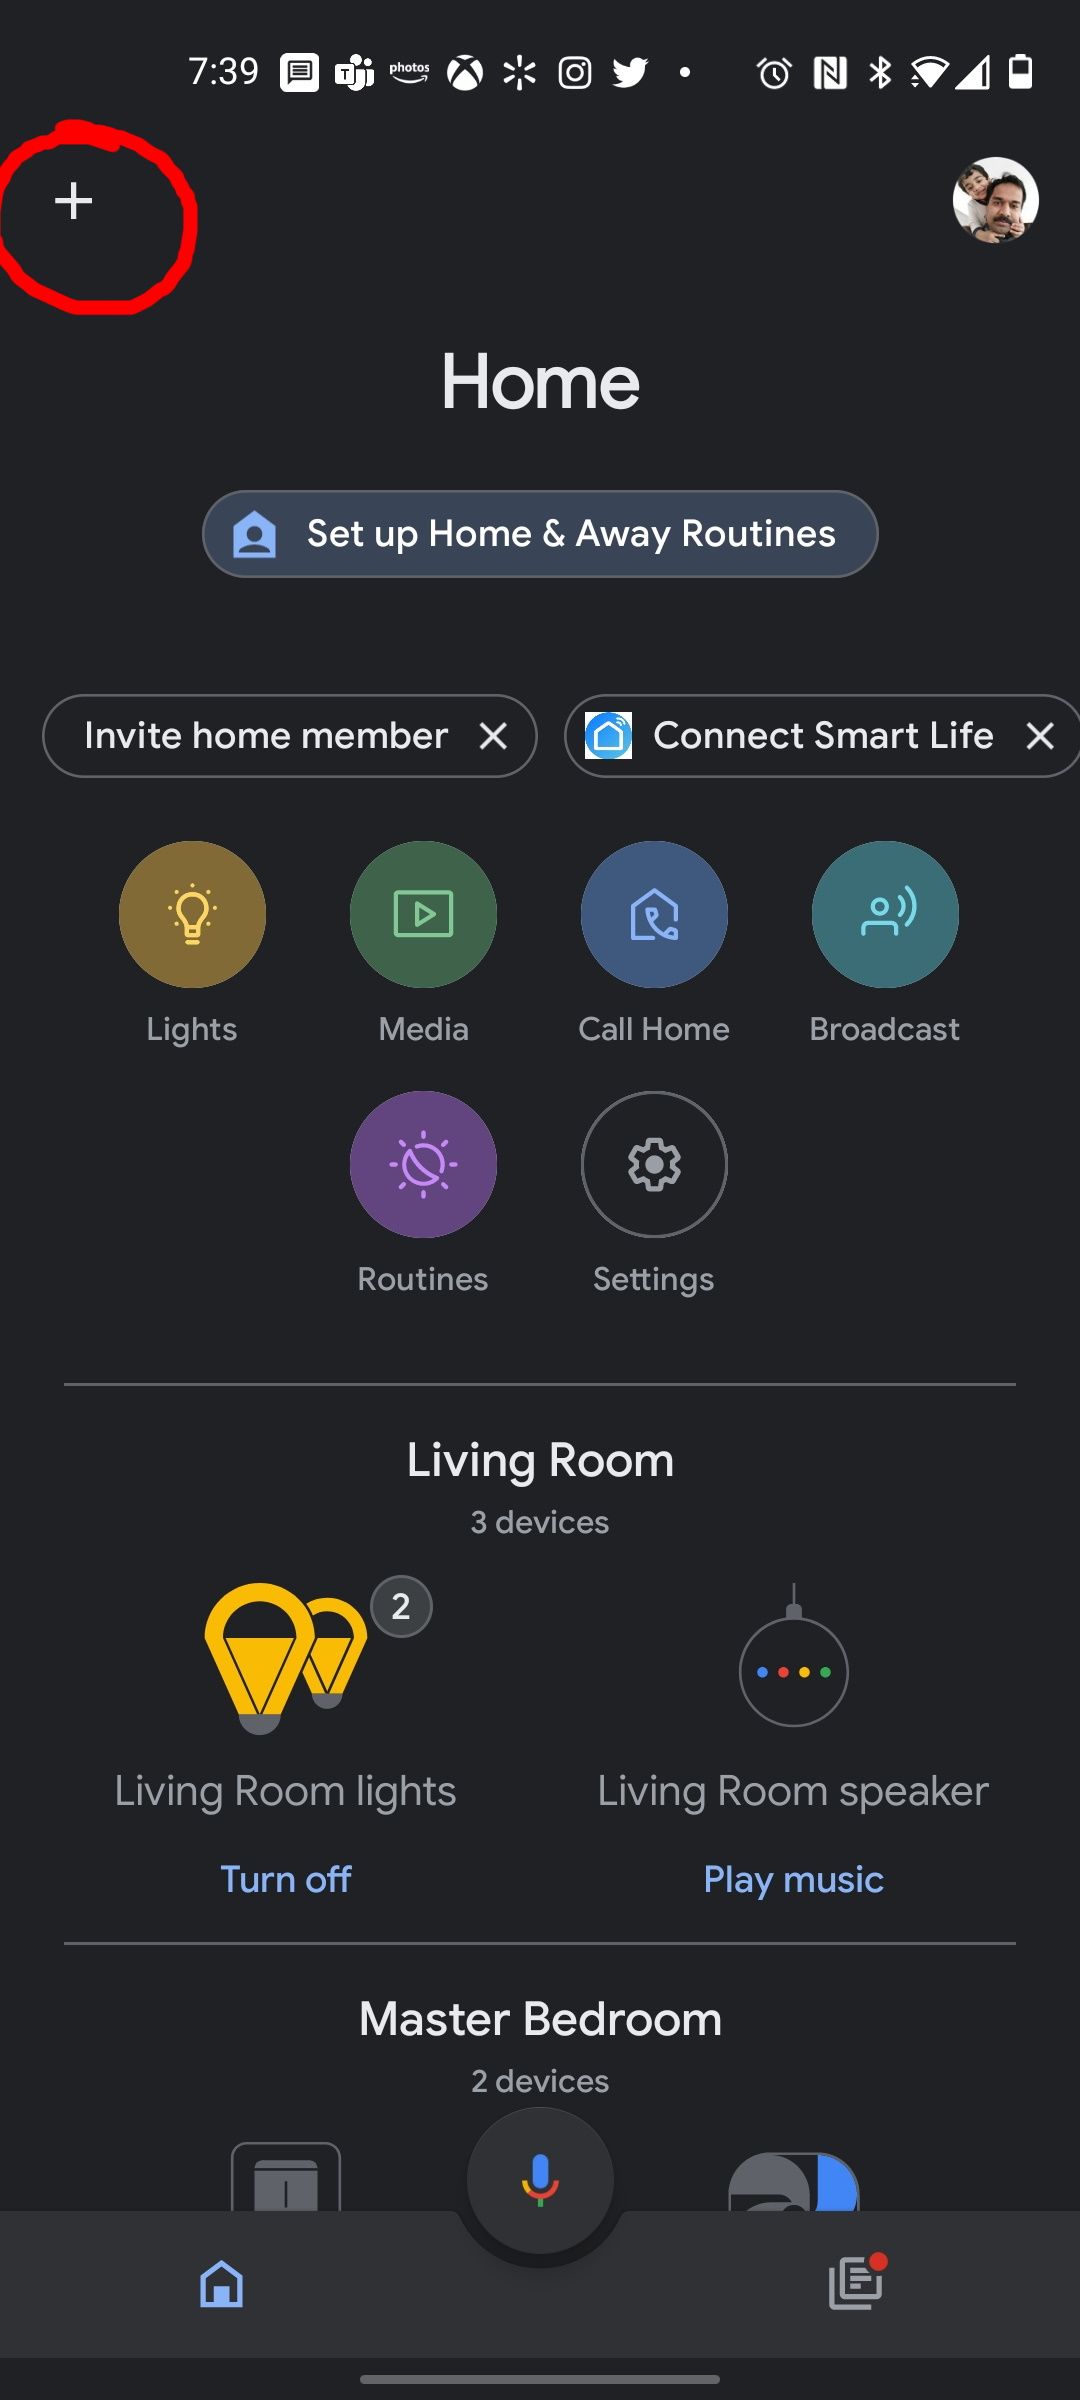
We are almost done. The last step is to connect our smart app to google assistant. So lets open the home app on the phone. I use android so the steps are for android phone, I have no idea how to do it in other phones. If you are using other phones you probably would be using some other assistant!!
Click(?) on the + on top right corner
Click Set up device
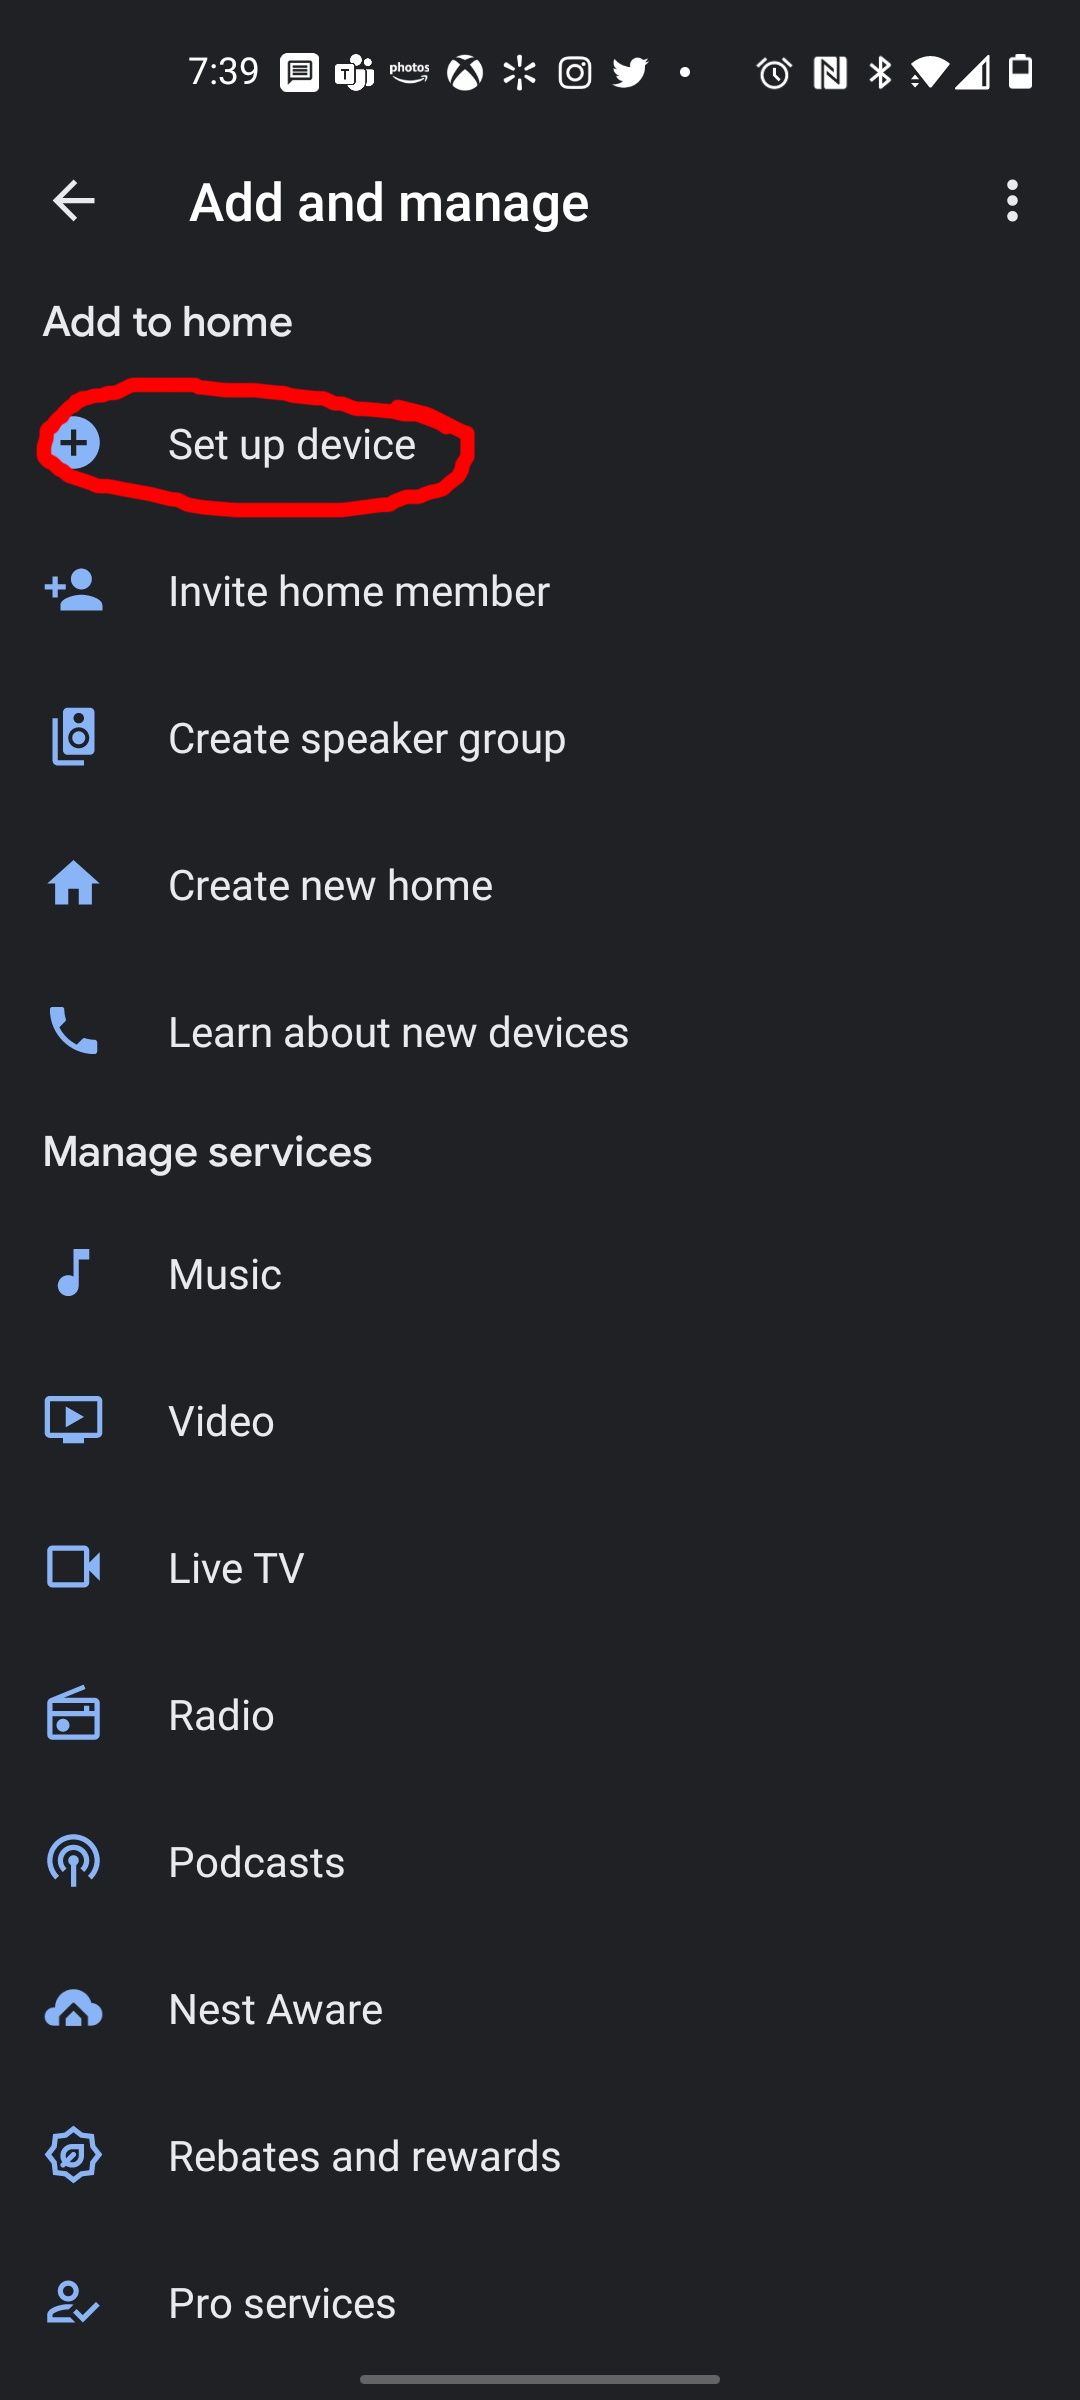
Click works with google

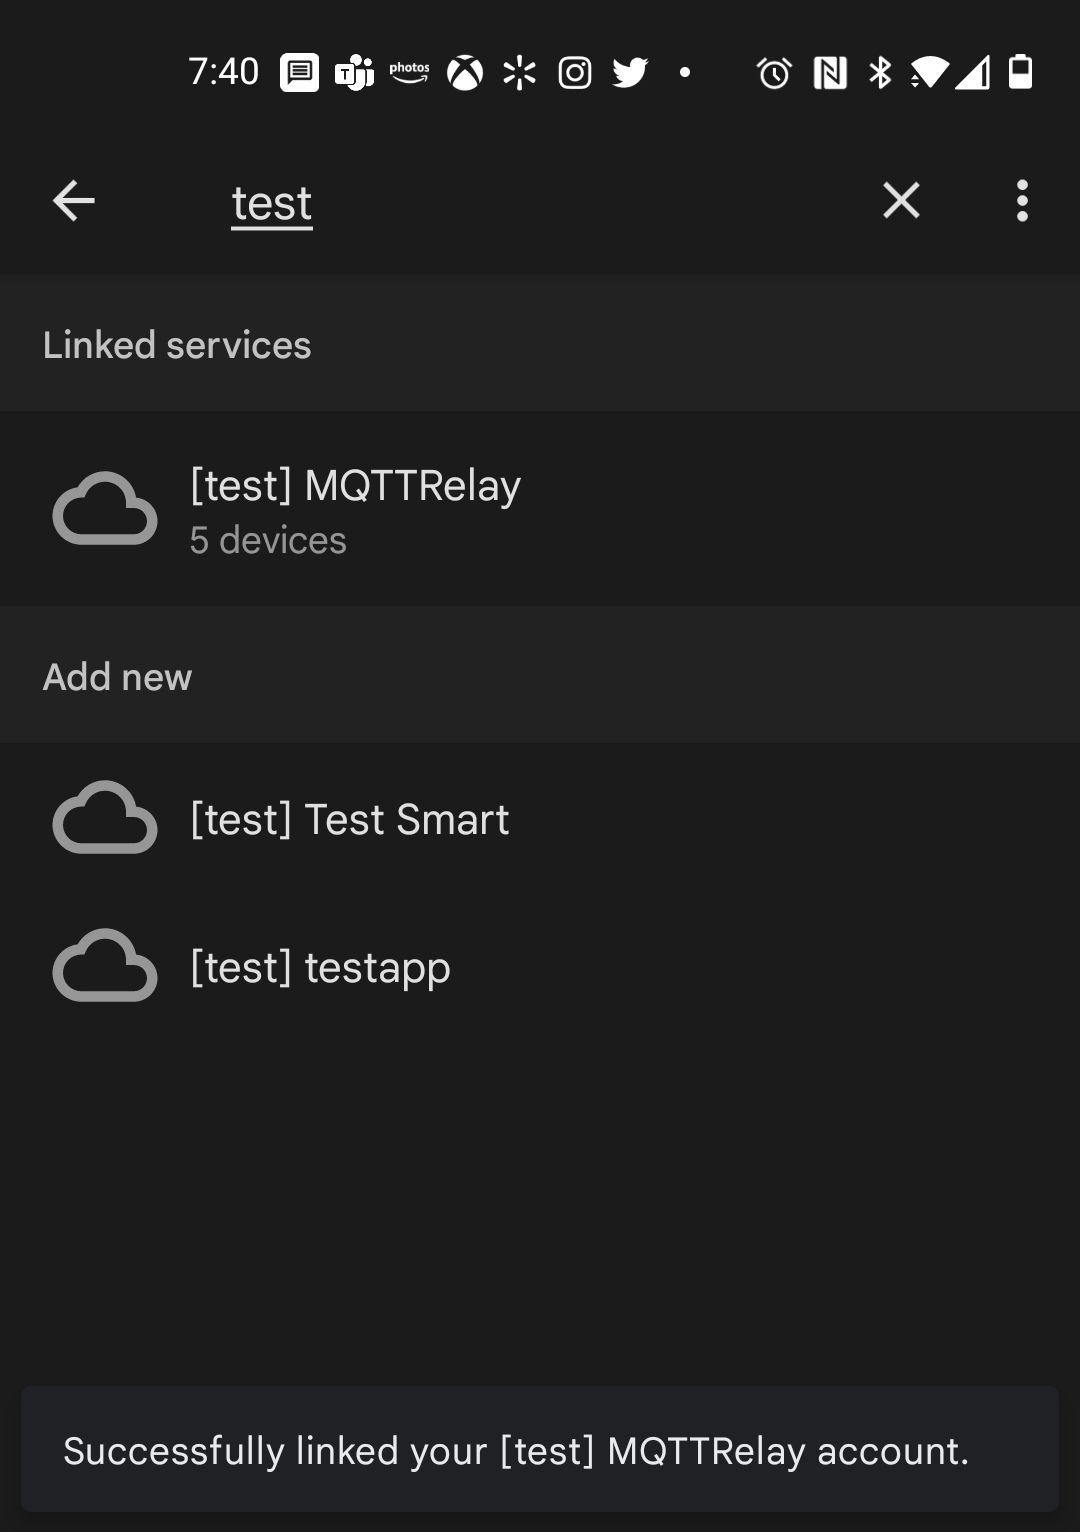
Search for "test" or the name of the project name app we gave in the first step. Our actions project should show up here with a prefix [test]. It has [test] prefix because we have not published our actions project. we don't have any intention to publish top the public. The downside to this is that we cannot link this project to someone else account. But if you have device sharing enabled in google home anyone should be able to control this device via voice action.

Once we select the project we should get this page. This is served from our Node.js app. After we click "Complete Account Linking" we should get a success message.
When we go back to the google assistant we can see our devices we defined in the devices.json.
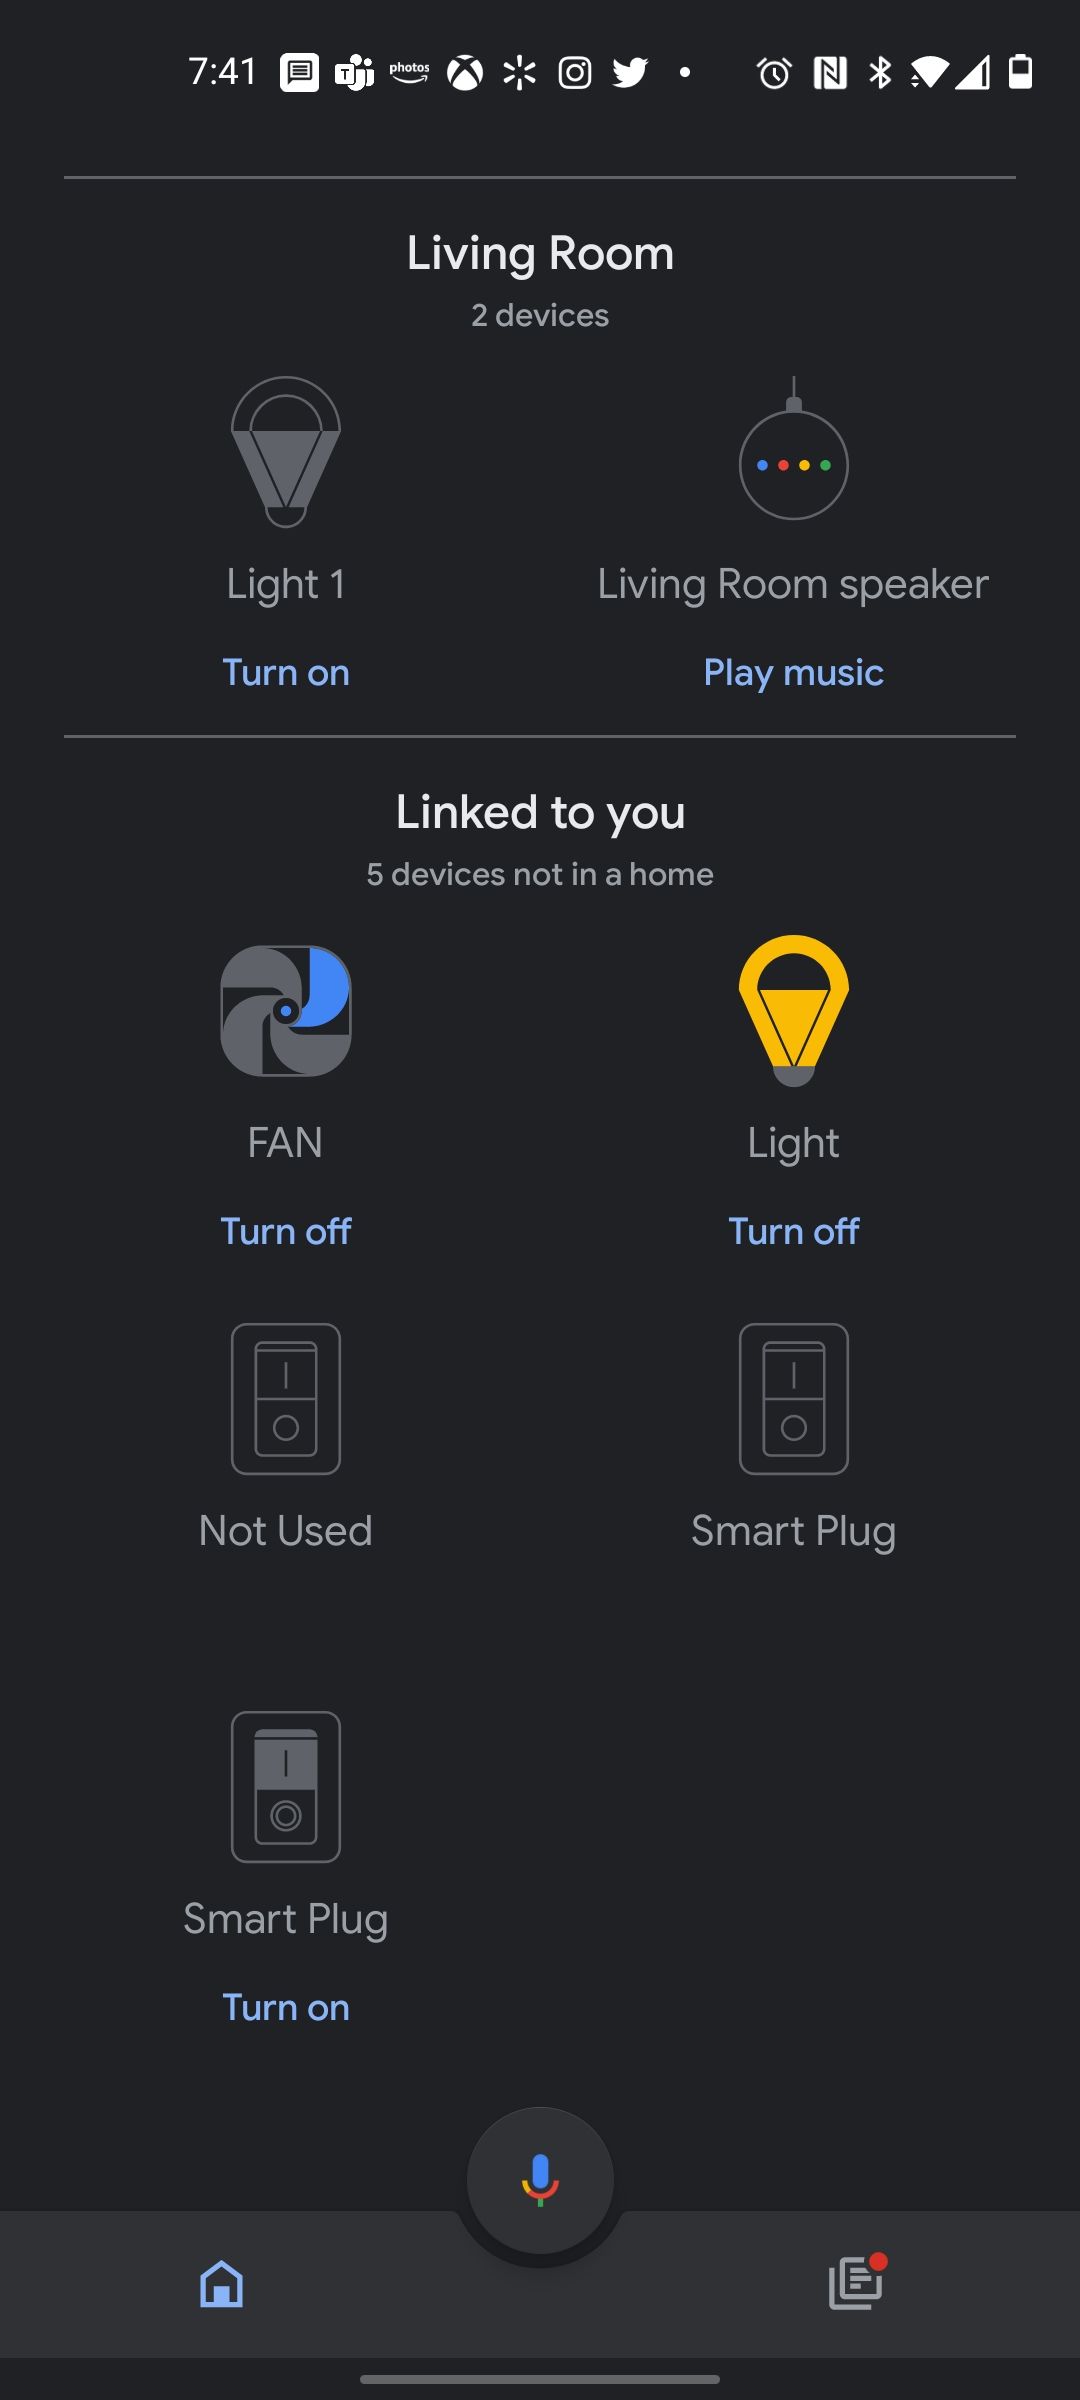
We can see the device properties we set in devices.json in the settings of that device.

This completes our configuration and linking of our smart home\actions project. We can now try turning on and off our ESP relay and it should respond to our commands. If you are using portainer or Dozzle you can see the mqtt messages in the container logs.
I have a Part 3 as well, in that we will talk about integrating devices that supports the Tuya protocol.